Monday 11 May 2015

She Floats - Somes Sound finally launched!

Saturday 4am - Siobhan my wife tells me go back to sleep - Santa hasn't come yet! I was like a kid waiting to launch my new boat!  We decided to have some sea trials on Saturday ahead of the formal launch party on Sunday - which was yesterday.

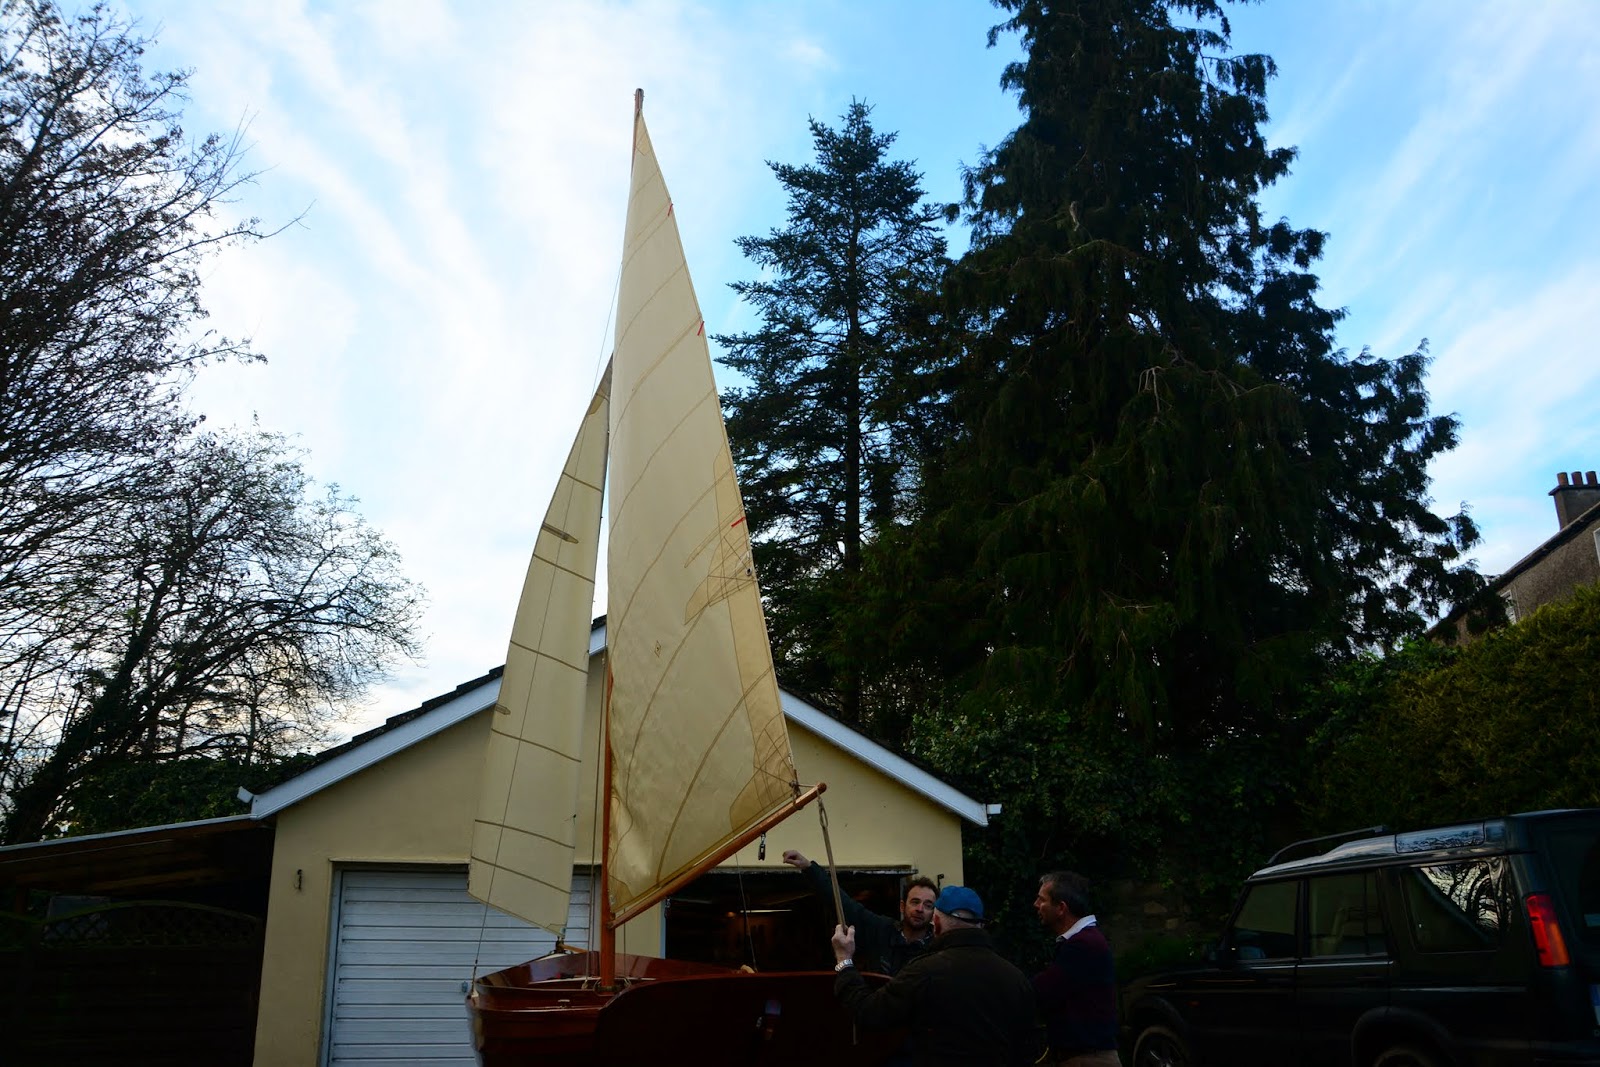
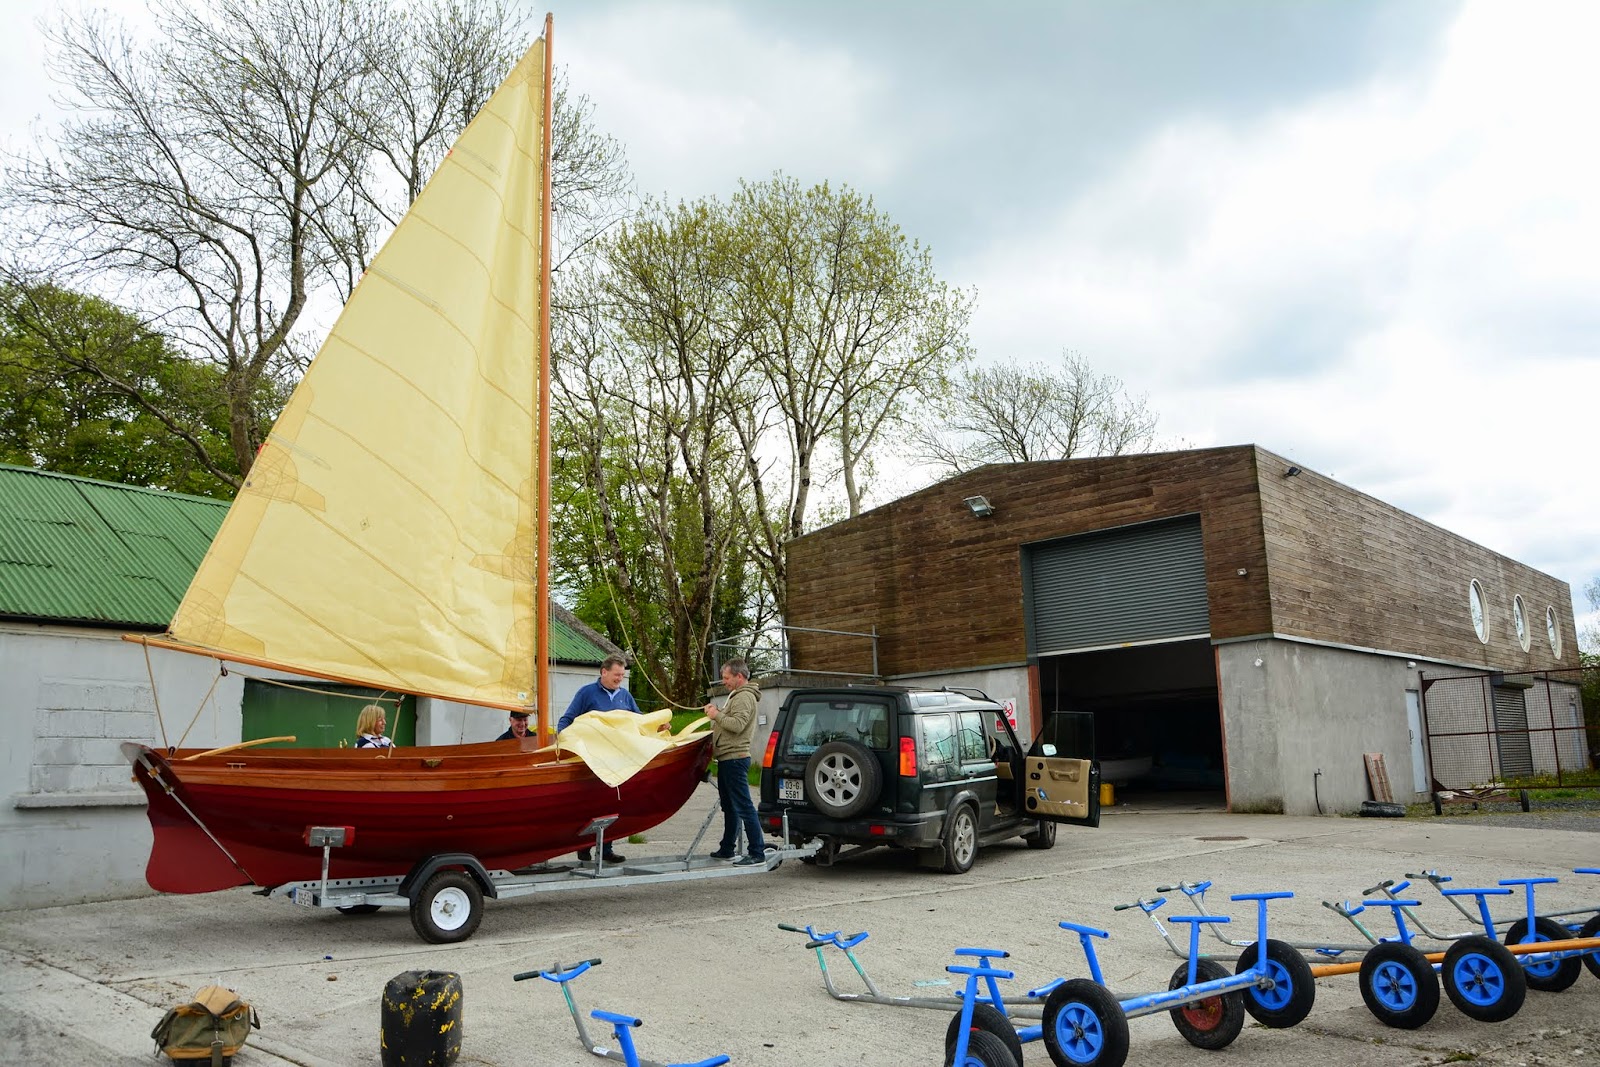
Here she is before heading from our home:-
All loaded up and ready for the road
We drove to Lough Ree YC which took around 90 minutes.  The trailer was rock steady and we arrived at the launch slip without incident.

We rigged the sails and everything seemed to fit!  Not too many onlookers which was good.
Here she is ready for splashing!  We had a lovely initial sail, once we cleared the marina.  Our plan to row with one oar and counter steer with the rudder was a nonsense!  Round we went in circles until a friendly rib pulled us out.  Once underway, she went like a dream - initially Siobhan, my son Harry, Brendan, Brian and myself!  The conditions were benign but she still sailed very well under full sail - unfortunately I don't have any photos of this because we were all in the boat!  I had not used any sealant under the removable centre board cap, so we had some ingress there, which we solved after we came in with a dob of sealant from the local hardware store.  The bilge pump however kept us dry!  Later on Siobhan and Harry had to go home, so the three of us sailed her again and despite a momentary grazing of an unmarked rock under our lead keel(!), we had a wonderful sail around the bay.

Onlookers from the club house commented on how well the sails set - we had full sails up and from my perspective they looked wonderful - thanks to Yannick Lemonnier of West Sails for doing such a wonderful job,


Next day we had our formal launch - the clouds had gathered over and the breeze had stiffened - with the forecast saying F6 to F7...

But first we had the matter of appeasing Neptune and naming our Somes Sound - PEG - the name of Siobhan's Mum who passed 2 years ago and was an avid support of the building project and sailed with us on our yacht in Greece as a first time sailor well in her eighties!
Traditional garland of greenery from our garden and some gorse bush
I'm sure some of the onlookers thought we were cracked as we rattled off some traditional rhyme and toasts to Neptune and placed greenery on her bows and of course, the mandatory champagne, a vintage bottle of Dom Perignon kindly gifted to us by Len & Rene, good friends who live overseas and couldn't be with us - thanks Len!

Yours truly - Launching Ceremony

Vintage Dom Perignon


By this stage we had the launch party standing by so I decided to ask a more experienced sailor to come out with me for the first run.  Philip Watson, Ireland's most experienced sail maker and rigger, kindly obliged and off we went.  Needn't have worried as she sailed like a dream - thanks Philip!  Philip also helped to make sure our rigging was properly set up so no dismasting would ensue.


Then Rob added some more magic to the afternoon by reciting a beautiful poem:
Rob Murphy - reciting Sea Fever by John Mansfield

I must go down to the seas again, to the lonely sea and the sky,
And all I ask is a tall ship and a star to steer her by,
And the wheel's kick and the wind's song and the white sail's shaking,
And a grey mist on the sea's face, and a grey dawn breaking.

I must go down to the seas again, for the call of the running tide
Is a wild call and a clear call that may not be denied;
And all I ask is a windy day with the white clouds flying,
And the flung spray and the blown spume, and the sea-gulls crying.

I must go down to the seas again, to the vagrant gypsy life,
To the gull's way and the whale's way, where the wind's like a whetted knife;
And all I ask is a merry yarn from a laughing fellow-rover,
And quiet sleep and a sweet dream when the long trick's over.

Beautiful shot taken by Joan - was was press ganged as our photographer for the day
No wheels submerged and the boat is floating - thanks to extendable trailer! 

Brian & Brendan acting as human fenders - due to an underwater ledge, the small fenders were useless.
With mounting excitement we boarded Peg and Brendan gave us a friendly push off and in an instant the reefed sails were filled and shot out of the harbour.  Plenty of wind meant she flew along.


We had four more excursions with more experienced sailors - first Shannon One Design champion David Dixon took the helm with Siobhan's brother Brian and me as crew.  Then we had Rob Murphy, dinghy and yachtsman extraordinaire who was effusive about her stability in heavy airs and put her through her paces.   Finally John McDonald and wife Ursula, both dinghy and yacht sailors took her out.  John's not happy unless there's a F8+ blowing, so he was quite happy with the blustery conditions.  Still, we found that the jib sheet arrangement a bit hard to get used to - not normally sailing a self tacker, we were not setting it up quite right.  The horn cleats for the jib sheets are quite hard to reach under the coamings, but I think it just needs to be set up correctly - when you are bouncing along in strong winds, everything moves more quickly!


My fishing buddy - David O'Connor volunteers

Launching from our trailer
Here's Brendan - pushing her off the trailer.  Bren was lassoed into building the trailer with me - and we were very pleased at how well it worked.  Thanks Bren!


Away she flies!
The hollow mast worked beautifully - taking the strain without any protestation.

No - really there is no outboard on the back!!
Rob at the helm
Drenched to the skin but elated,  we retired to the club house where we were made very welcome.  Wonderful food from local caterers, Loaves & Fishes and superb cakes from Una's 2210 Patisserie.   Afterwards we had Brian as elder lemon of Siobhan's family say a few words about Peg - following by some reminiscing.  Great to have family and friends together.

Bren- always smiling - always helping!


Sunday 19 April 2015

Don't sweat the small stuff - Bilge Pump Installation

Don't sweat the small stuff!  

Well easier said than done when trying to figure out where to drill holes in the bottom of your new boat!  Eventually, I got fed up procrastinating and drilled two holes for drain plugs, one either side of the centre board trunk.  Sense prevailed before I decided against fitting two bilge pumps which would have required a further set of holes in the side of the hull for skin fittings, and so I finished up with one bilge pump which is plumbed to the starboard side of the hull discreetly underneath the sole and inside the seat locker, out of view.


Here you can also see where I installed the ships compass on top of the centreboard trunk cap.  I elected to position it forward, so that other crew might be able to monitor it.


I need to figure out how to fix the pump itself - I don't really have more room for a mounting pad, and I am certainly not going to screw it to the hull, so I may look to find a way to clip the side of the pump to the trunk logs, which are very beefy timbers running on top of the keelson.
Bilge Pump exit through 3/4" bronze skin fitting

Another shot of the Somes Sound, getting ever so close to launch:-


Wednesday 15 April 2015

Getting closer..but there's always one more thing!

Well the weather men (and ladies) said that this week we would have a nice high sitting over Ireland and temperatures touching 20 (that's 20C !)  Based on such balmy predictions, I thought I would charge ahead and finish out my little boat.

Alas the sun gods didn't want to play, so varnish coats are taking ages to dry and I'm finding more little jobs to finish.  Part of me perhaps doesn't want to the building process to end, I guess, but I am excited at the prospects of launching!

I played back and forth with the idea of mounting a bracket for my little electric trolling motor which I rarely use for my lough fishing.  But sense prevailed and so I spend a few days making an oar.  Just one.  I'm sure I mentioned here before how the traditional way of  "rowing" this boat is with one oar, while one counter-steers with the tiller.  Nice idea - hope it works!

The knot appeared out of nowhere!
So off to my local timer saw mill - Irish Timber Products.  David was as ever his cheery self and we reckoned that in fact larch would be suitable, and so we selected a nice straight grained example with as few knots as possible.  I brought it back home to realise that it wouldn't be wide enough, so a flurry of laminating resulted with various different species, which I thought might look well together.  I can hear the traditionalists already groan....but no matter.  Once I had the laminations made, using TiteBond 3 and about 60 clamps, I set about shaping the oar.  I had elected to make an 8' long oar and I had read that thin oars were most suited to a heavier style displacement boat, so I shaped a fairly narrow blade on my band-saw.


At that point, I realized that it would be a long day in the workshop armed solely with my spokeshave.  So I researched buying a draw-knife, but none were available at close quarters.  So I press-ganged an old lawnmower blade into service - welded two steel handles on it and used it to carve ash handles and then finally my oar. I was amazed at how controllable the draw knife was to use and sorry I hadn't built one years ago.
Very satisfying!

The oar is nearly finished except for a few more coats of varnish.  I found an old piece of leather lying around the workshop and made a rudimentary protection for the oar as it bears into the oar lock.  I have to figure out a way to make a button to stop the oar from sliding into the water.  I'm let to believe that a Turks head knot is the salty solution, but I have never made one before so no so sure how that will turn out.

I found this video on YouTube courtesy of SelfMadeSailor which might be worth emulating.

Home Made disk Sander

Mounting Pad for Oar Lock
Meanwhile, I went about building spacer blocks for my oar lock bronze mounts.  They have a slight indent on the mating surface, which had to be carved out.  I put my spindle sander to good use for this and indeed my home made 12" disk sander.

A more challenging task lay ahead.  I needed to drill holes ion the bottom of the hull to drain rainwater when on its trailer.  I had procrastinated over this task for many months, but eventually after a visit to my local chandler, I bought two drain plugs - bit the bullet and drilled two pilot holes from the inside of the hull.  Right up against the cross member steel beam of the trailer!  So I had to fiddle around with a variety of tools and small bobbin sander discs to get them to fit.   I had to cut off the points of the 3/4" bronze screws as they were protruding out of the bottom of the hull.  I simply withdrew them and clipped off their pointed ends and re-screwed them back in, then a final layer of epoxy on the hulls exterior.   I epoxied both in last night and today everything seems water tight and well sealed against rot.

When I was at the chandlers yesterday (nice folks at Marine Parts Direct), I bought two automatic bilge pumps - one for either side of the centre board - in much the same fashion as I positioned the drain plugs and a small battery.  Also a binnacle compass sneaked into the shopping list, along with a few other "necessities"!  I made a small housing out of Sapele today so that I can mount it on top of the centre board trunk cap.   It needs a sealing coast of epoxy and a few of varnish and that should make a nice elegant but useful addition to my Somes Sound.

Onwards!


Tuesday 7 April 2015

Getting close to launch time!

It's been a while since I updated my blog, but that's solely because I had done very little with the boat having battened down the hatches for a wet and cold winter.  Today the birds were singing and so I spent the day doing some final boat preparations, in the hope that we can get launched soon.

The latest project had been building my trailer, which I think was quite successful.  I had some request to show the complete trailer in a video, so I took a short video of it today.  


I needed to touch up some varnish and paintwork, because loading the boat onto the trailer in my tiny workshop was a challenge and some scuffs and a few deeper gouges ensued.    I had the boat in a sling and propped underneath the keel on a trolley jack at stern end of the lead keel.  The plan was to reverse the trailer underneath, but with very restricted space, it proved easier said than done.  Oh well..at least this will be the last time I need to have the boat in my workshop, so apart from any berthing catastrophes, it should be plain sailing from here on in!! 

Also I managed to get the floor boards fixed to the boat - in the end I just used 4 bronze screws, having deliberated on using toggles and such like.  I then fitted some more hardware to the mast to control the cunningham.  Tomorrow, I hope to finish painting and figure out what to do for oars, bilge pump and drain plug.

Getting close!!

Tuesday 2 December 2014

Sails & Trailer

Some good progress to report since my last post.  I installed the centre board having applied several primer coats to the inside of the centre board case and 2 coats of antifoul.  Some smaller jobs were finished such as installing the traveller on the transom.  Next up was to make new mast tangs for the shrouds.

Then a call came for the sailmaker, Yannick Lemmonier,  to say that my sails were ready and he could come to fit them, to make sure they fitted correctly.

Yannick had already sent me a sail design viewer with his designs for my boat, which were very interesting:-


And here they are in real life:-


Here is the jib with Yanick Lemmonier from West Sails in the background.  Yannick took great care in every detail to make a beautiful suit of sails.  I was curious to see the batten in the jib and apparently a small roach cut in as well.

Here you can see the mail sail being hoisted - a very satisfying moment!


Spurned on by this progress, I set about enlisting my friend Brendan to help build a trailer.  We had looked at a number of commercial designs but all need some modification and our local galvanizing company will not galvanize any metal which has already been galvanized, so if modifications were made they would leave the structure susceptible to rusting.  So nothing for it but to order up the steel and trailer components.  We used some of the original molds to allow us accurately site the hull supports.  Having the boat plans to hand was very useful in deciding dimensions.


Here are some photos of the trailer nearly completed - just needs to be fitted to the boat to make sure it works and then off to get galvanized.


We designed the trailer with an extendable tongue which consists of 60mm box section sitting inside a 70mm section, and secured in place by two removable pins.   The bunks are adjustable and the rear bunks are designed to be removable so that they are clipped off before launch and retrieve.

In this next photo you can see where the extension tongue is held inside the larger box section for on the road towing and when these pins are removed you can extend the tongue to various lengths to suit the launch ramp - hopefully this will allow us launch without launching the tow car as well!


Tow coupling hitch is bolted to the inner box section which is nested within the main centre channel of the trailer


Adjustable and removable rear bunks with magnetic real lights

Adjustable mast support and winch assembly for bow of boat.


Sunday 19 October 2014

Milestone Event


I took advantage of the fine weather yesterday to work outside and paint the final coat of antifoul and topside paints.  Using a roll and tip method went very quickly, thanks to assistance from Siobhan,  and I noticed that the paint dried much quicker than previously when working inside my small garage.

I had a call from my sail maker to say he could be here tomorrow to measure the mast bend before making the sails!  So that spurned me on to  attach the shroud plate and forestay tang in order to step the mast.  Brian came along to help but then I noticed that I had made two forestay tangs and a jib halyard tang in bronze but missed out on the mast shrouds.... So I had to jury rig up two shroud plates out of some galvanized door hinges which were remarkably suited to the task - even if they are only temporary.

First we clamped the shroud plates and tang to the specified positions on the mast to make sure that the shrouds and forestay were the correct lengths, as the bronze bottle screws are quite small and don't allow for much adjustment.

This proved a good idea, as it allowed us to drill and screw the plates at exactly the right height.  I noticed that the mast is turned slightly in the mast step, so I have slight adjustments to make in the tenon at the bottom of the mast, but nonetheless, it was a great feeling to finally step the mast and stand back and look at the boat in her nearly completed state.

You can see where the foredeck meets the coaming that the paint line is irregular - despite a number of attempts.  I'm think I may need to apply a rounded epoxy bead to ensure a cleaner fit - unless others have suggestions.

Quality Control Officer....